
Wondering what to pack for the arctic? As someone who lives in a tropical climate, I was scouring through every winter packing list I could find for our Northern Lights trip to Sweden. But a lot of what I ended up packing was from advice from family and friends. This comprehensive winter packing list is designed specifically for warm-weather dwellers heading to extreme cold destinations. When you live in a place where the temperature rarely dips below 60°F, preparing for an Arctic adventure can feel like packing for another planet. And there are doubts, too, that seem to bubble up as you’re prepping for the trip. Like, “Am I going to be warm enough? How do I pack all this puffy gear?” and “Will all these new clothes cost as much as the trip?”
Turns out, there are affordable options for packing for winter weather. You don’t need to break the bank and invest in expensive gear for clothes you need for a once in a lifetime trip that you won’t wear that often. And as a Floridian that packed for a winter trip to Sweden to see the Northern Lights, I’ve learned some valuable lessons about what works (and what doesn’t) when trading palm trees for polar conditions.

Winter Packing List: What To Pack For The Arctic
Growing up in Florida, “layering” typically means throwing a light cardigan over your tank top when the AC in buildings gets too cold. In the Arctic, it’s a survival strategy. Let me break down what worked for me, from head to toe:
Base Layers (Your Foundation)
I learned that base layers are what truly keep you warm and should be the foundation of any arctic winter packing list. For shirts, they might also be what you wear to breakfast in your hotel. Here’s a list of what you’ll need and where I shopped for them to save money.
BASE LAYER TOPS: Base layer tops are thin and wick moisture away to keep you warm. Stay away from cotton (as it will stay wet if you sweat in your heavy coat). Instead of long sleeve t-shirts, look for brands that specifically say “moisture-wicking base layer” or “thermals.” For affordable brands: try Uniqlo, Land’s End, and Columbia. I also found some sold as a set on Amazon called Thermajane. Pro Winter Packing Tip: You don’t need a fresh set for every day like I initially thought as you’ll be able to re-wear these. It’s the one item I overpacked. Just 2-3 thermal shirts will suffice for a week-long trip.
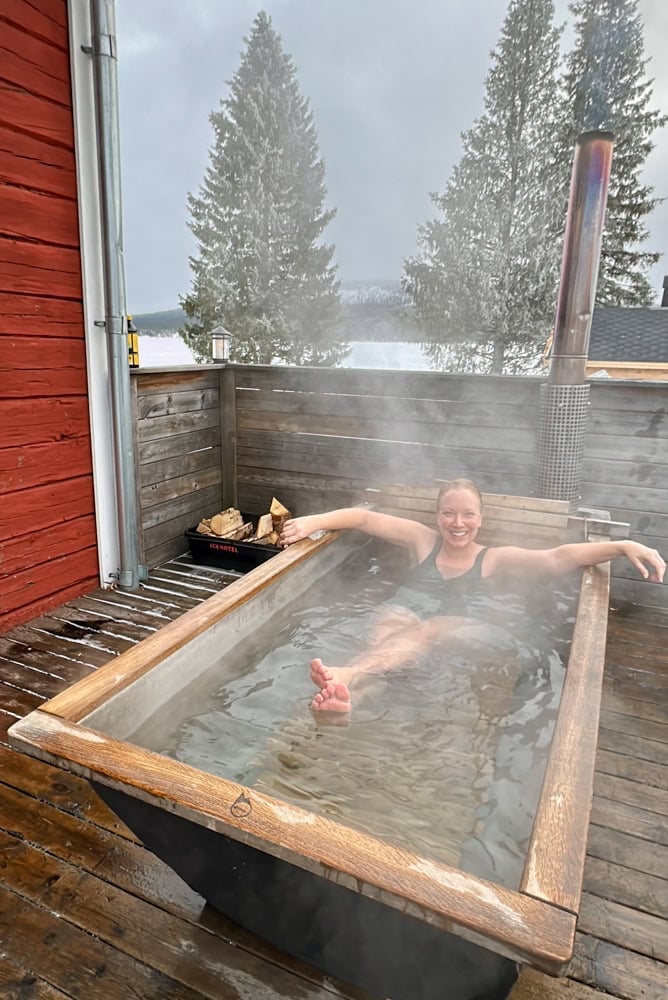
SPORTS BRAS: For women, these were the most comfortable option under multiple layers, providing support without uncomfortable seams or hooks pressing against your skin all day. Also, depending on the thickness of the fabric, it’s an extra layer. TIP: Also pack a bathing suit if you plan on visiting a sauna or spa. They’ll typically provide footwear needed.
BASE LAYER BOTTOMS: Just like the tops, you’ll need base layer bottoms like thermal leggings or long underwear. Again, 2-3 pairs are sufficient for a week. For leggings, I ended up sleeping in these too, and mostly just wore the thin thermals under jeans when going out to dinner.


Mid Layers (Your Insulation)
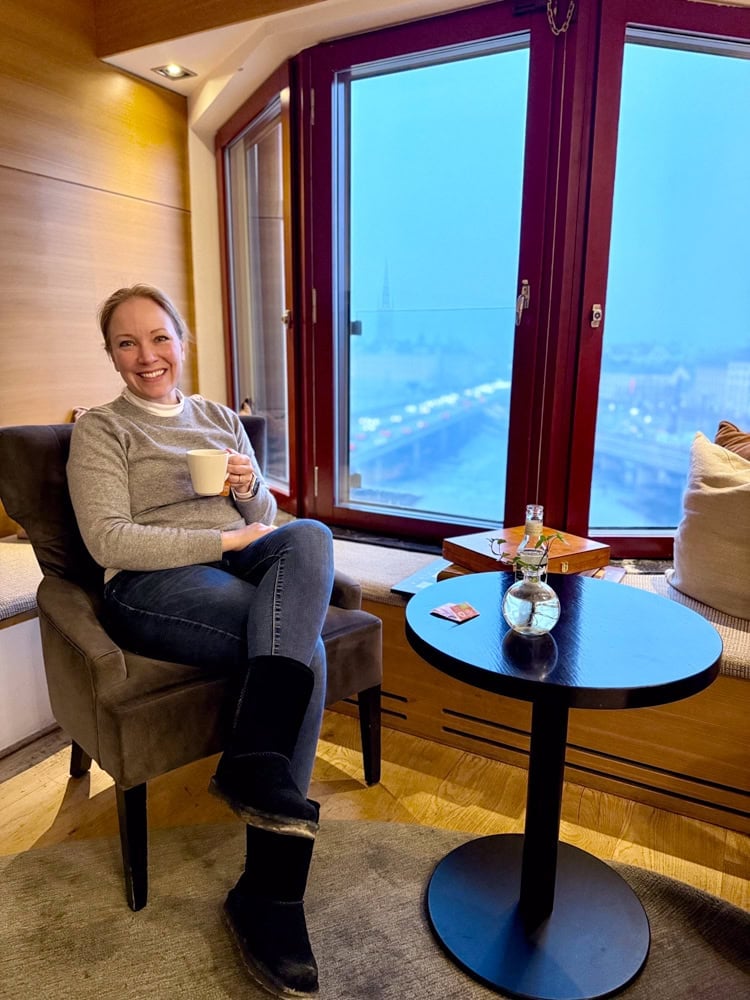
MID LAYER TOPS: Here’s where you’ll want a little more variety. Cashmere is warm and not too bulky to pack. It also offers the same insulation properties as wool, but is softer and more comfortable. For cashmere sweaters, the brand Quince is a game-changer. They’re surprisingly affordable and incredibly warm without the bulk. I also packed athletic fleece sweaters for some of our more active outdoor excursions.
MID LAYER BOTTOMS: Some of your “mid layer” bottoms might also be your outer layer when dining out, or going to get suited up with heavy outdoor gear before an activity (more on that below.) Fleece leggings (found on Amazon) were my absolute favorite! I pretty much lived in these and I brought two pairs. They’re much warmer and more comfortable than jeans for daily wear and they’re perfect under snow pants. With my boots and parka, these were even okay for quick moments outside on travel days, or going for a walk to shop for things.

Outer Layers (Your Protection)
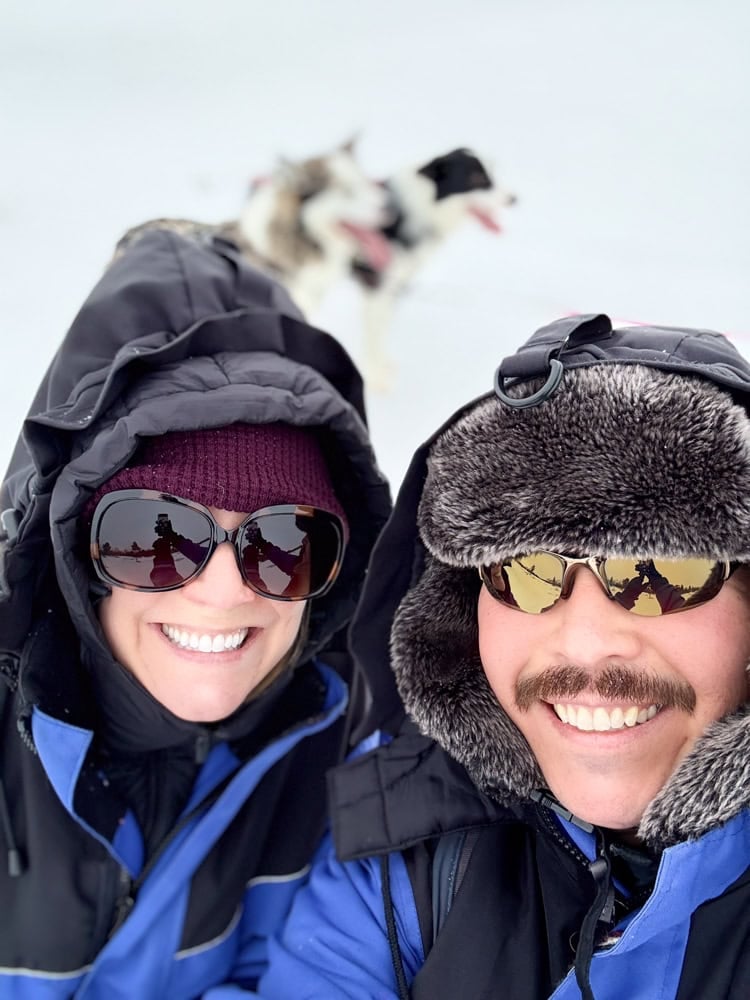
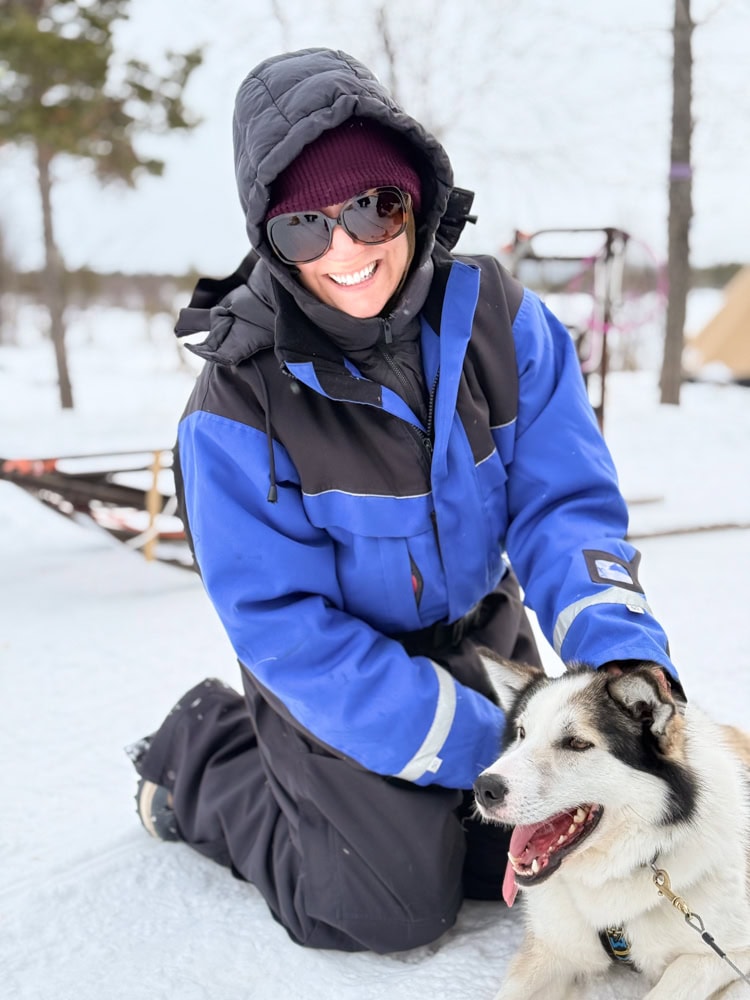
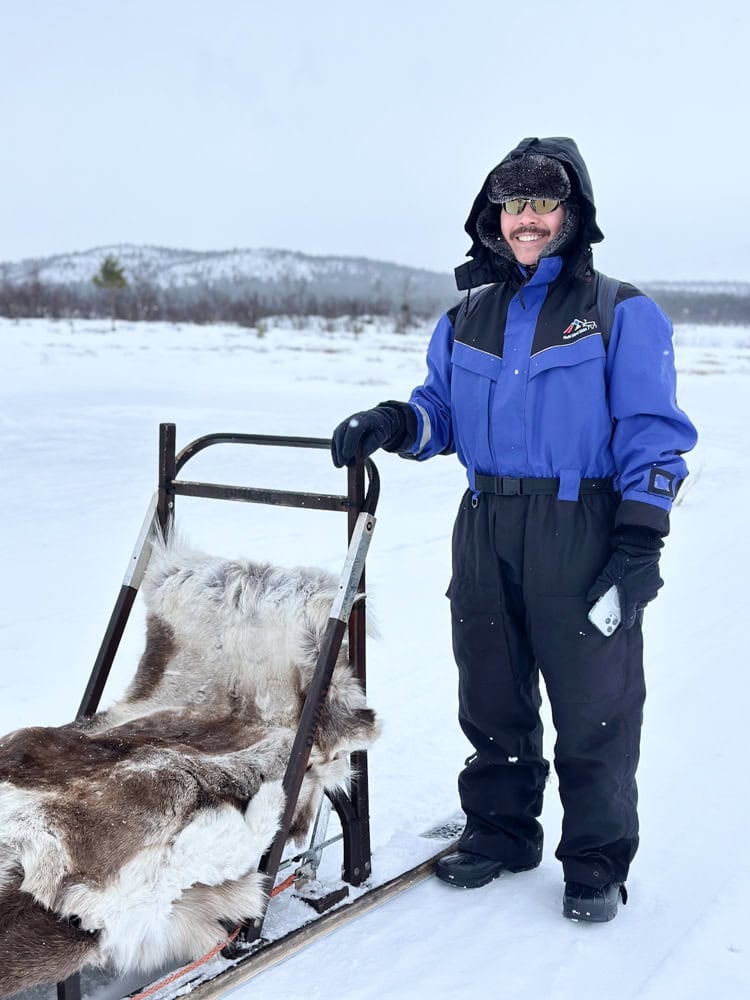
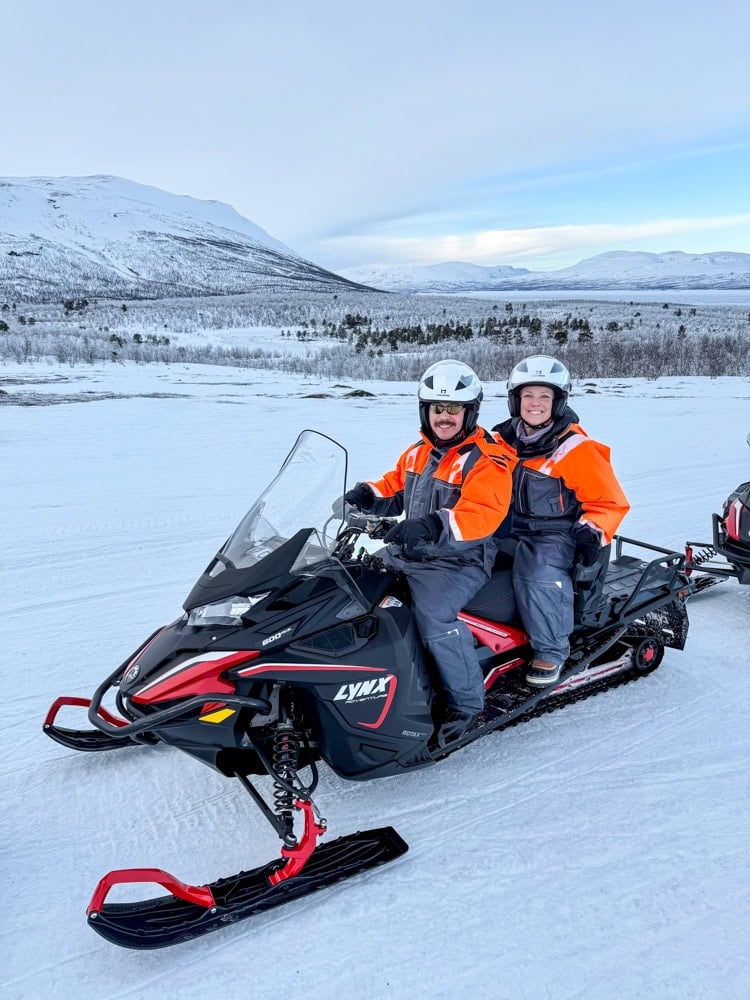
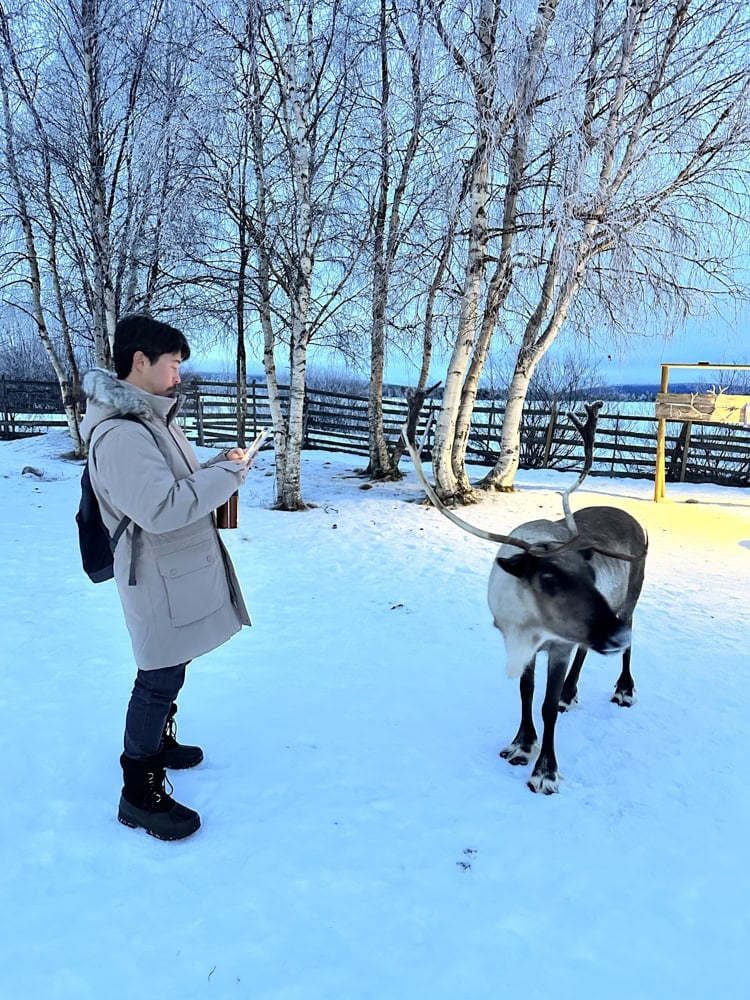
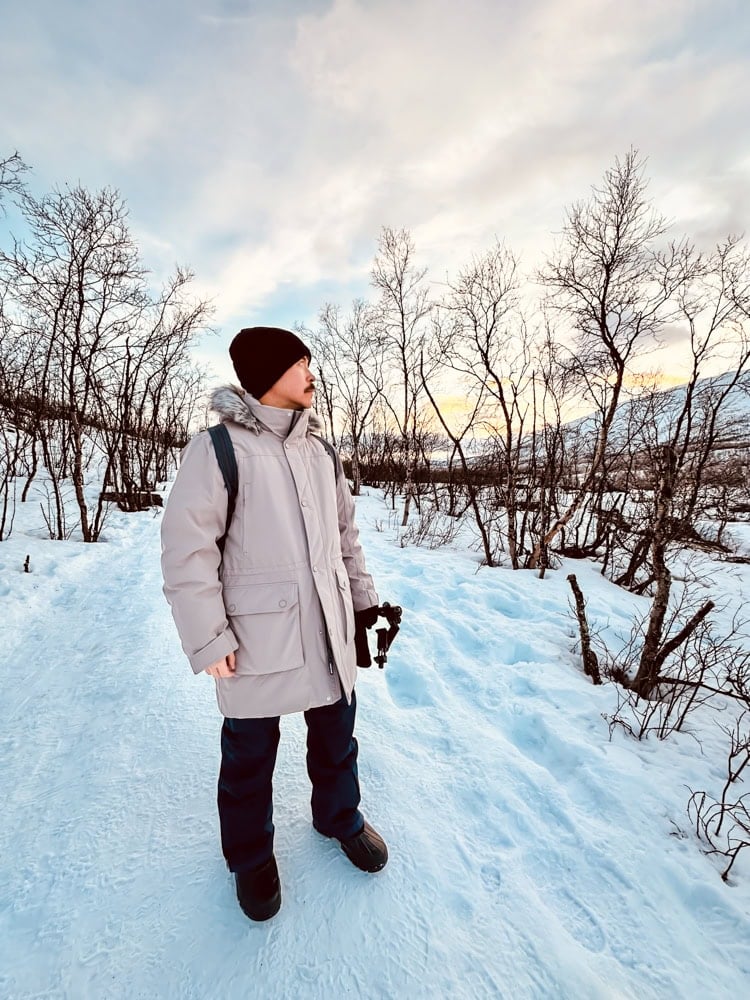
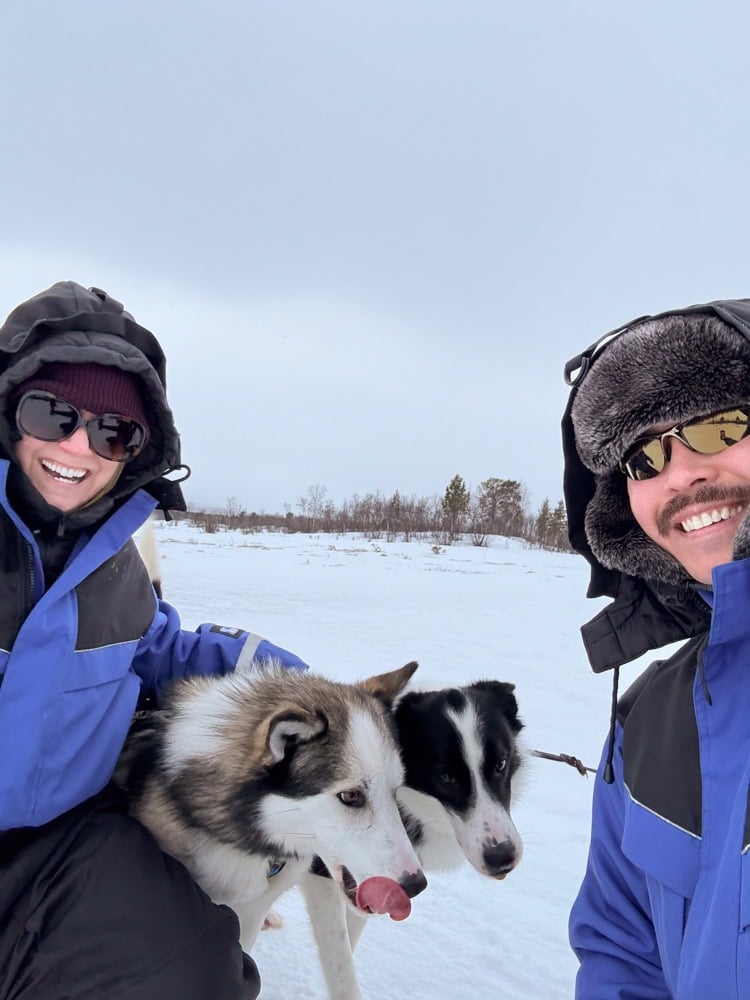
PUFFER JACKET and VEST: I packed several outer layer options for different scenarios and it worked well. My system of puffer jacket, puffer vest, and cold weather parka gave me flexible options depending on activities and temperature. For instance, I’d wear the puffer vest over a base layer top to go down to breakfast in the morning. And for activities like dog-sledding and snowmobiling, I wore the puffer jacket and fleece leggings as they fit well under the tour-provided snow suit.
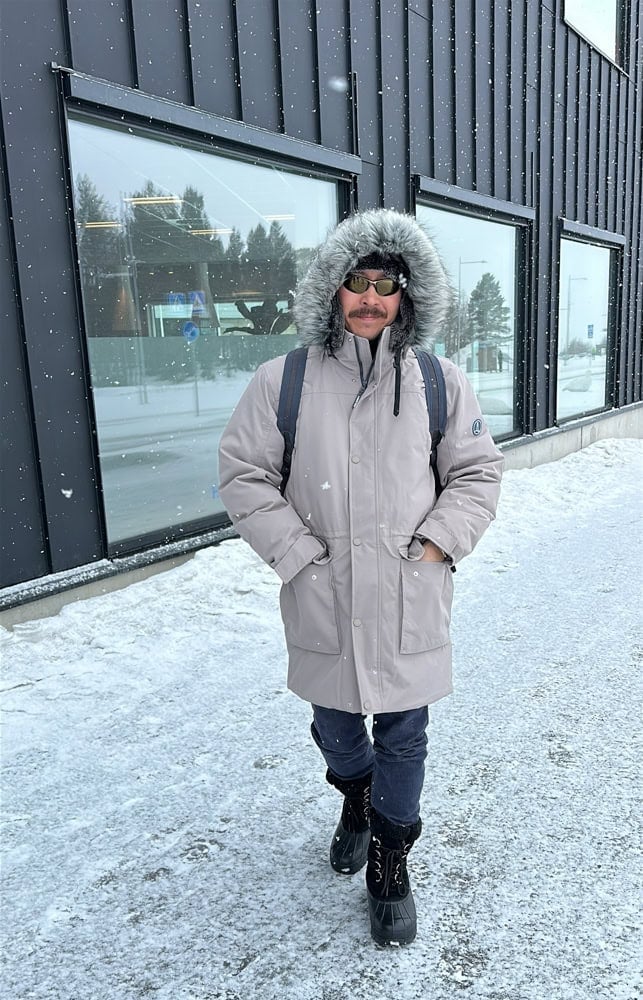
WINTER PARKA: A cold weather rated parka is a must for any winter packing list! Look for one with temperature ratings suitable for your destination (Arctic parkas should handle -20°F to -40°F). Premium brands like North Face can cost $300-800+, but we found excellent options at Land’s End for much less. Key features to prioritize in a parka: removable hood (essential for layering flexibility), wind-resistant outer shell, and multiple pockets for storing your phone, hotel key card, and hand warmers. The pockets are crucial since you’ll want easy access to essentials without removing layers. (I have more tips for brands to price shop below!)
PANTS: Snow pants are another essential! I ordered Columbia snow pants from Amazon that worked perfectly. Make sure to try them on with your base layers to ensure they’re roomy and comfortable. I brought two pairs with me to Sweden, but honestly only needed one pair of snow pants for our nightly excursions to hunt for northern lights. For our other activities, we had snow suits provided by the activity guides. I also had a pair of jeans that I wore with a base layer to dinner, and otherwise lived in fleece leggings.
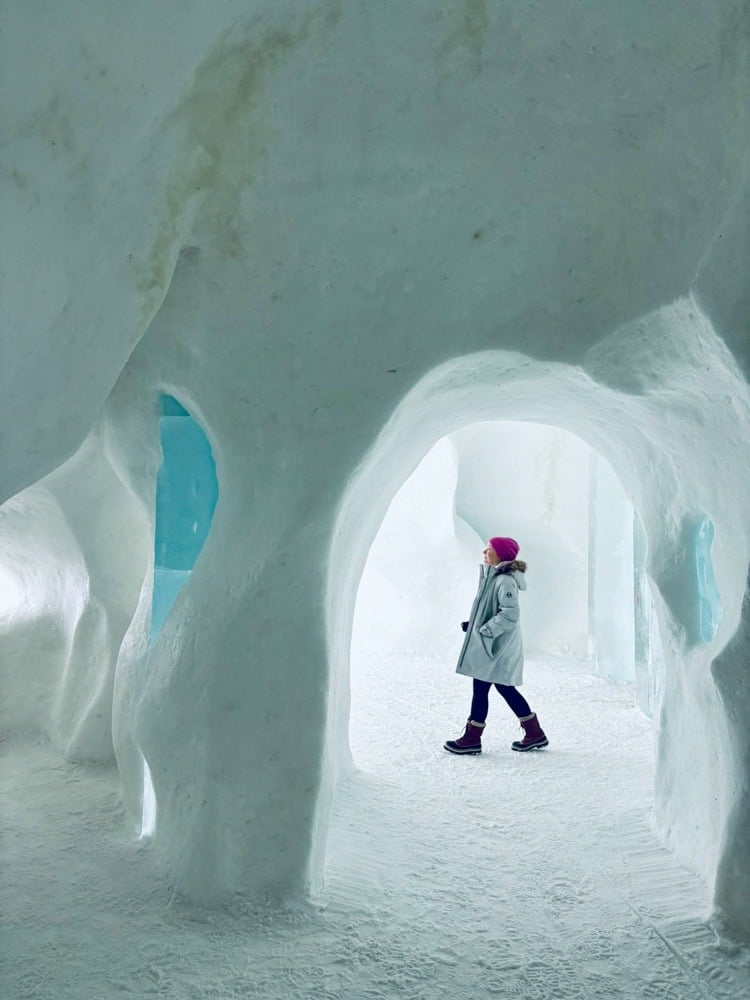
TOUR-PROVIDED GEAR: For many outdoor activities (like snowmobiling, dog sledding, or mountain excursions), tour guides will provide bulky snow suits to wear over your layers. These are extremely warm (like wearing a blanket) and perfect for stationary activities where you’ll be exposed to the elements for extended periods. (You can see my layering of a down puffer jacket and hat underneath the tour-provided gear below)
Accessories That Made All The Difference
Your hands, head, and feet will also need a little extra attention in frigid temperatures. It’s also where you can add a little extra color as well as comfort.
Head & Neck
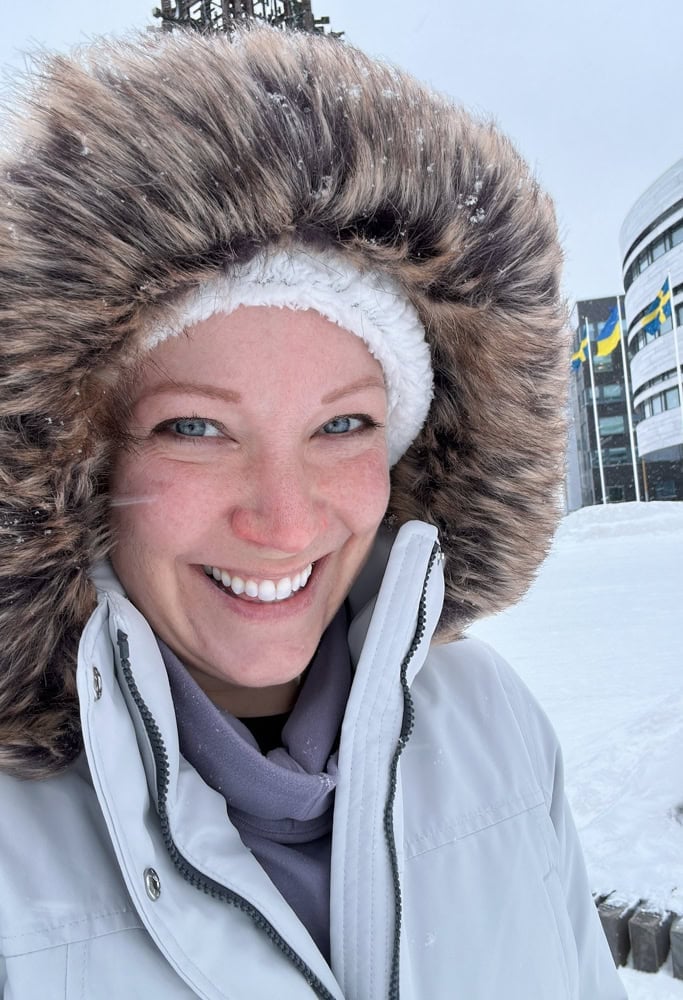
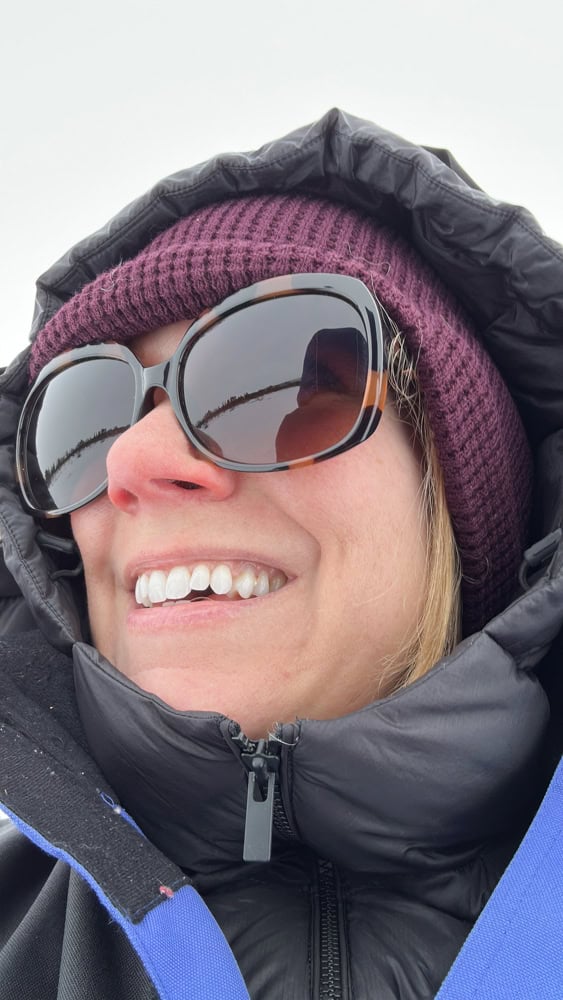
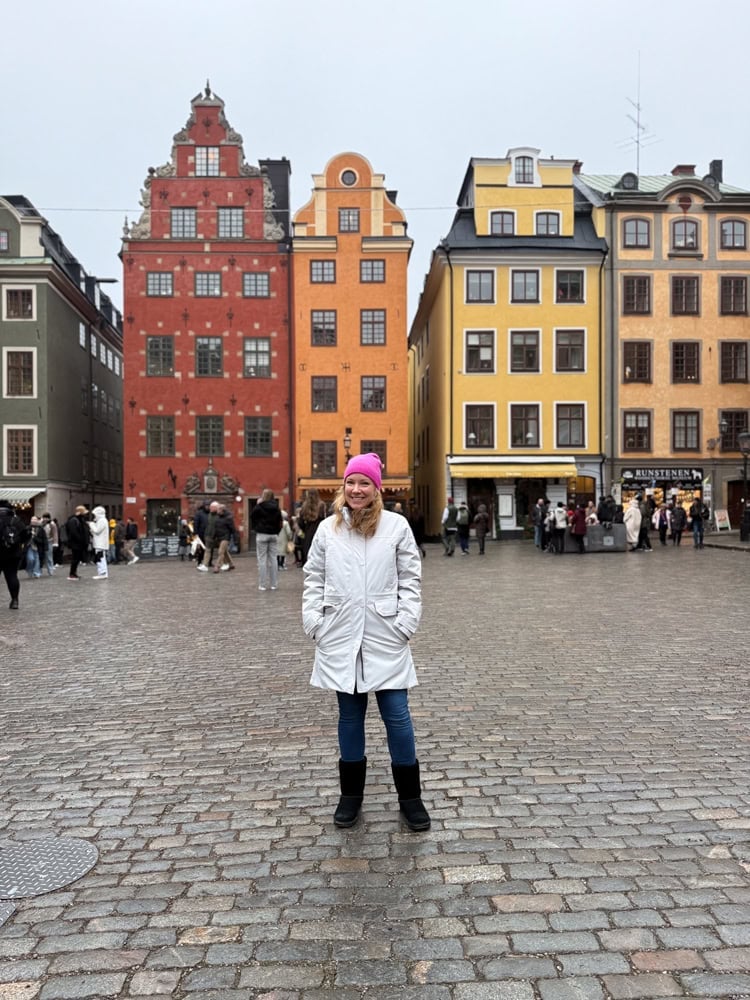
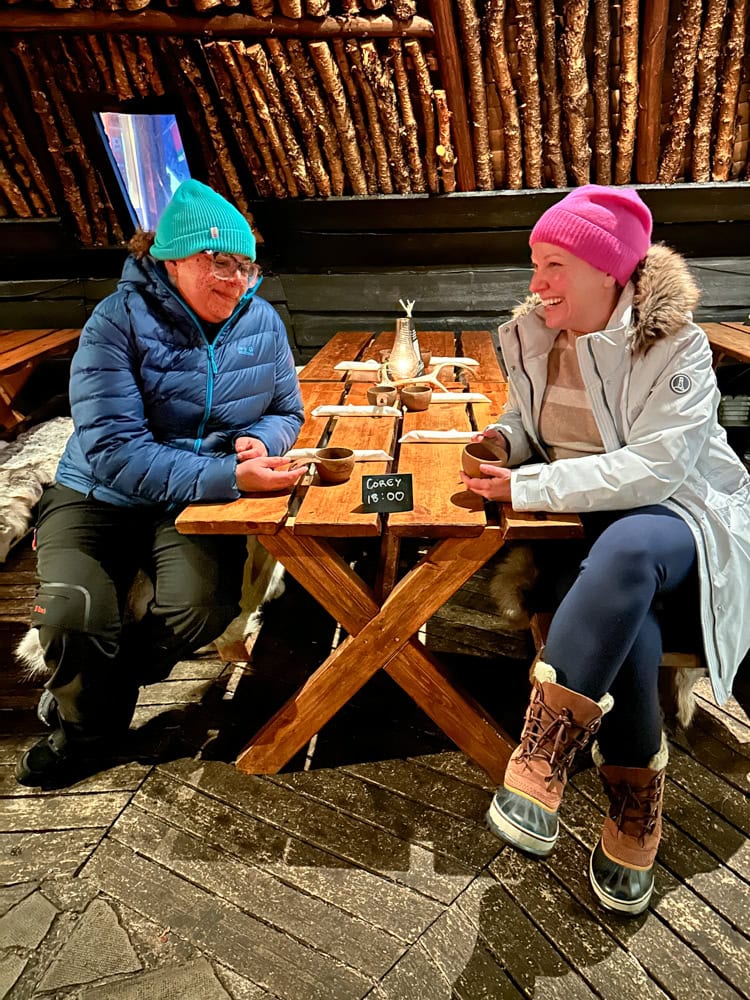
Hat: I opted for a pink cashmere beanie instead of wool (due to allergies). I also had a knit beanie that was lined in fleece that I got as gift for the holidays. Make sure the beanie or hat covers your ears completely! I tried one from Quince and ended up sending it back. The fit and shape just wasn’t right and not up to par with the quality of their sweaters. The beanie hats I ended up keeping I got on Amazon.
Ear Muffs or Headband: To be honest, I didn’t really use the ear muffs I packed. The cashmere beanie and hood from my parka were enough. I did, however, bring a fleece headband. And that was comfortable and thin enough to layer underneath the beanie if I needed it. The brand Turtle Fur is a great option.
Neck Protection: A fleece neck gaiter proved more versatile and warm than a traditional scarf as you can pull it up over your nose when the wind picks up. This was another great find by the brand, Turtle Fur.
Hands
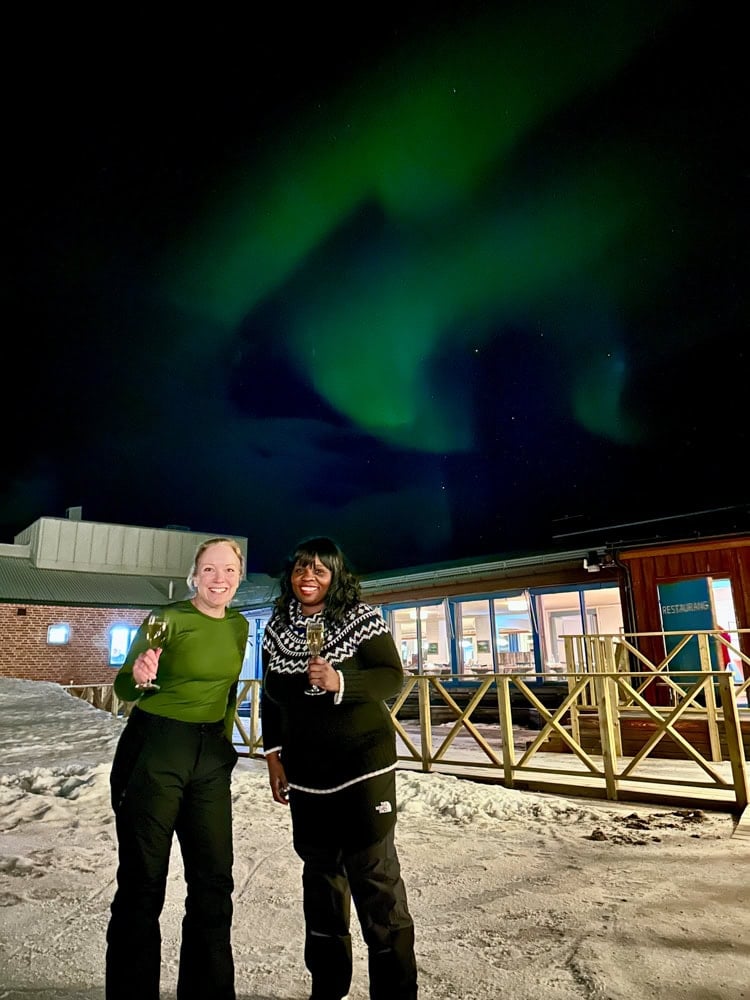
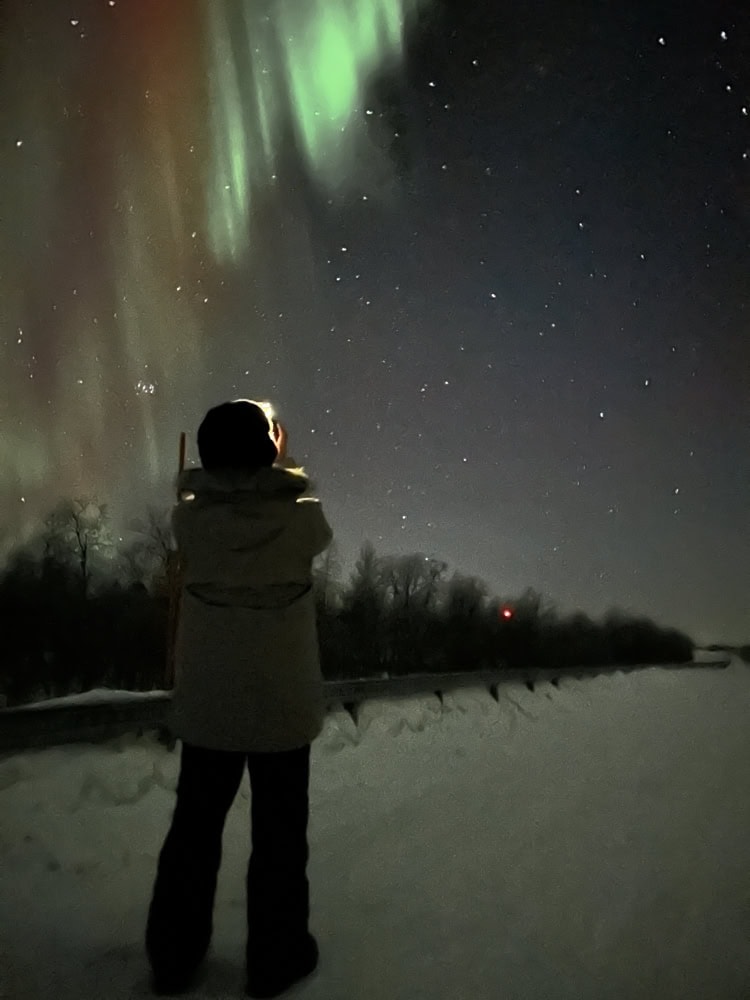
Gloves System: The reason I say “system” is you’ll need more than one pair. You’ll want thin cloth gloves with touchscreen capability, topped with heavy mittens when needed if you’re outdoors for a long period of time. This combo lets you use your phone without exposing your entire hand to the elements. And honestly, we only needed the heavy mittens at night when we were outside for long periods of time taking photos of the northern lights, and when snowmobiling.
Hand Warmers: These little packets of heat can be lifesavers on particularly cold days. We used hand warmers inside our mittens rather than investing in expensive heated gloves or the Ororo heated accessories my relatives suggested. I also always had some stashed in my pockets for when I just wanted to use the cloth gloves.
Feet
Boots: You’ll want at least two pairs of boots. One that is all-weather and has a cold temperature rating, like SOREL Tofino insulated boots or the SOREL Joan of Arctic waterproof boot. Pete found a similar pair of boots on Land’s End that he found very warm and comfortable. (I’ve just had my Sorels for over a decade now. They still held up! To be fair, I only use them on average one trip every other year) You’ll also want a smaller boot. Like a sherpa-lined slip-on similar to Uggs or Bearpaws for quick trips to the hotel breakfast or walking around town. We saw a lot of Swedes wearing wool socks and Birkenstocks around the hotel restaurant and lobby, so that might be an indoor footwear option too. And in Stockholm it was quite a bit warmer and we could have gotten away with wearing sneakers had we packed them.
Socks: Everyone recommends wool socks for cold winter weather (details on why below), but I used alpaca socks due to my wool allergies and they were so cozy and warm. My husband Pete found a company called Pacas that has the cutest alpaca socks. They claim to be softer than cashmere and warmer than wool. After wearing them on our trip and on cold days at home too, I can say they’re definitely cozy and warm. And a great alternative to wool.
The Wool Alternative
Everyone recommends wool socks for cold weather, and for good reason. Wool naturally wicks moisture, retains heat even when wet, and has antimicrobial properties that prevent odor during repeated wearings.
However, some people are allergic to wool (like me!). My solution? Alpaca socks! My husband gifted me some for Christmas, and they were perfect. All the cozy thickness and warmth without the allergic reaction. Cashmere socks are another great alternative if you can find them.
Brands That Won’t Break the Bank
Creating an effective winter packing list doesn’t have to mean spending a fortune. As Floridians, it’s hard to justify expensive cold-weather gear we’ll rarely use. If you don’t live in a place with harsh winters, there’s no need to invest in pricier brands like North Face or Canada Goose. Here are the budget-friendly favorites we found:
Land’s End: Don’t underestimate this brand! Their quality is excellent, especially during sales. Being based in Wisconsin, they understand serious winter weather. We ended up getting our winter parkas from Land’s End for less than $150 on sale. And honestly, I’m impressed with the material and stitching. It doesn’t seem like a budget brand and they kept us warm.
LL Bean: LL Bean is another reliable option with great quality cold-weather gear that won’t disappoint. I have a few jackets from them.
Uniqlo: Perfect for affordable yet effective base layers. Their HEATTECH line is thin but mighty. They also have a colorful selection of puffer jackets and puffer vests that are great for travel.
Quince: Their cashmere is comparable to luxury brands at a fraction of the price. My sweaters kept me toasty and will be perfect for autumn and winter travel in Europe too.
Ororo: My New England relatives swear by this brand’s heated jackets and vests. Apparently, Ororo heated vests beloved by hockey moms who spend hours in cold rinks! If we lived where we experienced really cold winters all the time, I probably would have invested in these.
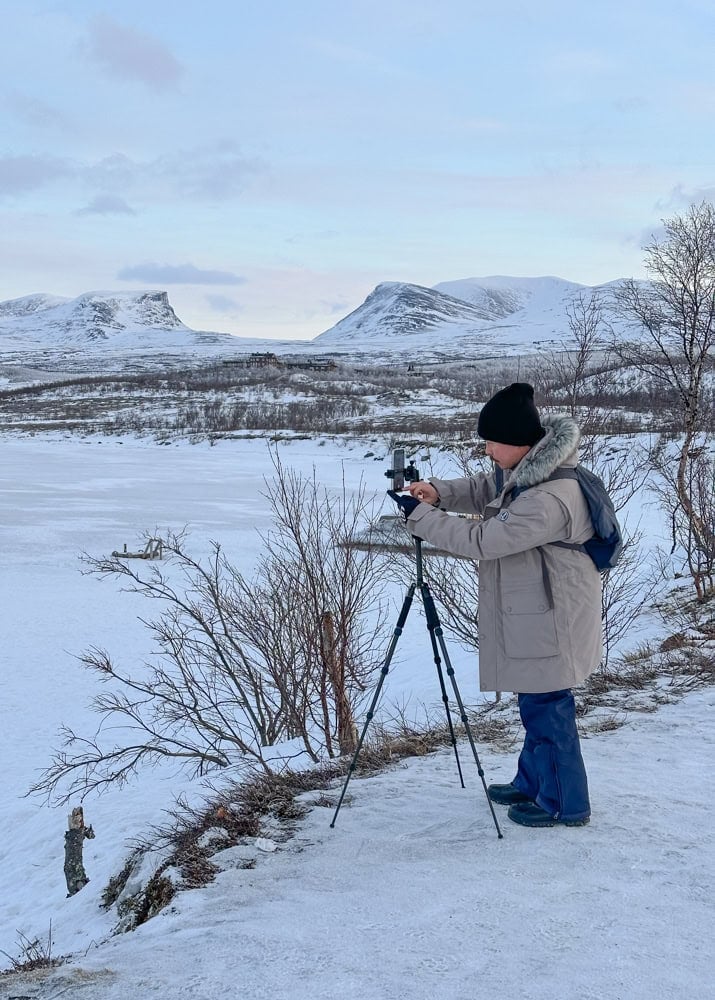
Camera Equipment
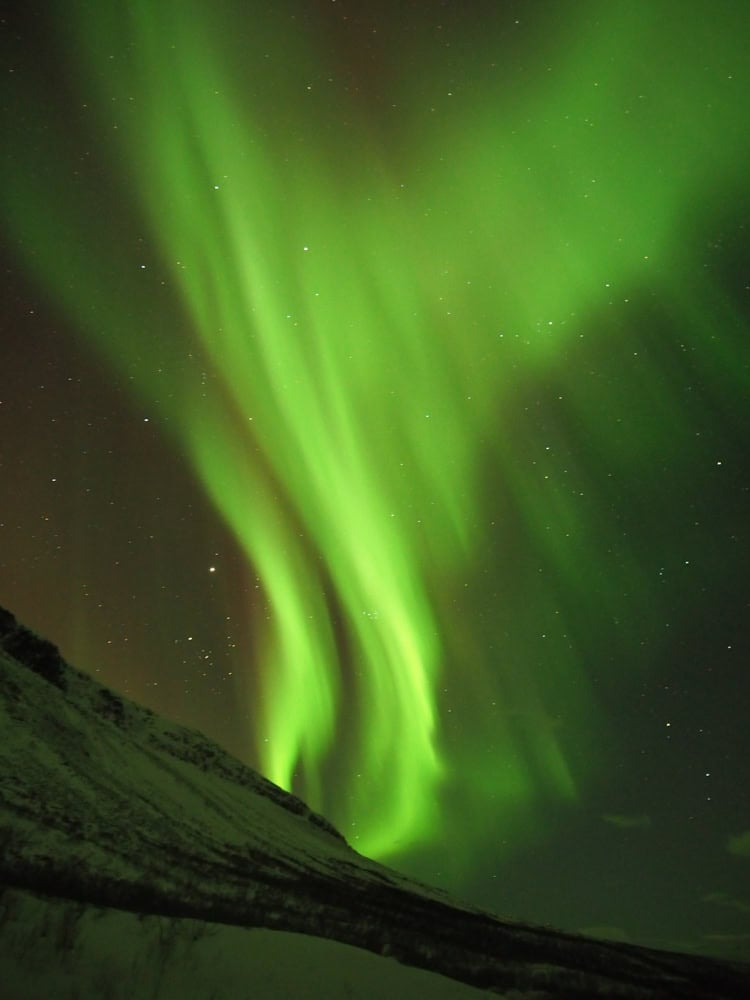
If you’re planning to capture the northern lights or stunning ice formations, remember that extreme cold affects electronics. You’ll want extra batteries for your camera. And as for lenses, you’ll want to check the temperature rating and opt for a Pro lens as below certain temperatures, they will stop working.
Camera Body and Lenses: Professional-grade equipment handles the cold better. Consumer-grade plastic can become brittle and batteries drain much faster.
Tripod: A carbon fiber tripod (like my trusty Sirui that’s traveled with me for over a decade) is ideal. Metal tripods become painfully cold to touch and can actually shrink slightly in extreme temperatures.
Extra Batteries: Keep spares in an inside pocket close to your body heat.
Personal Care Essentials
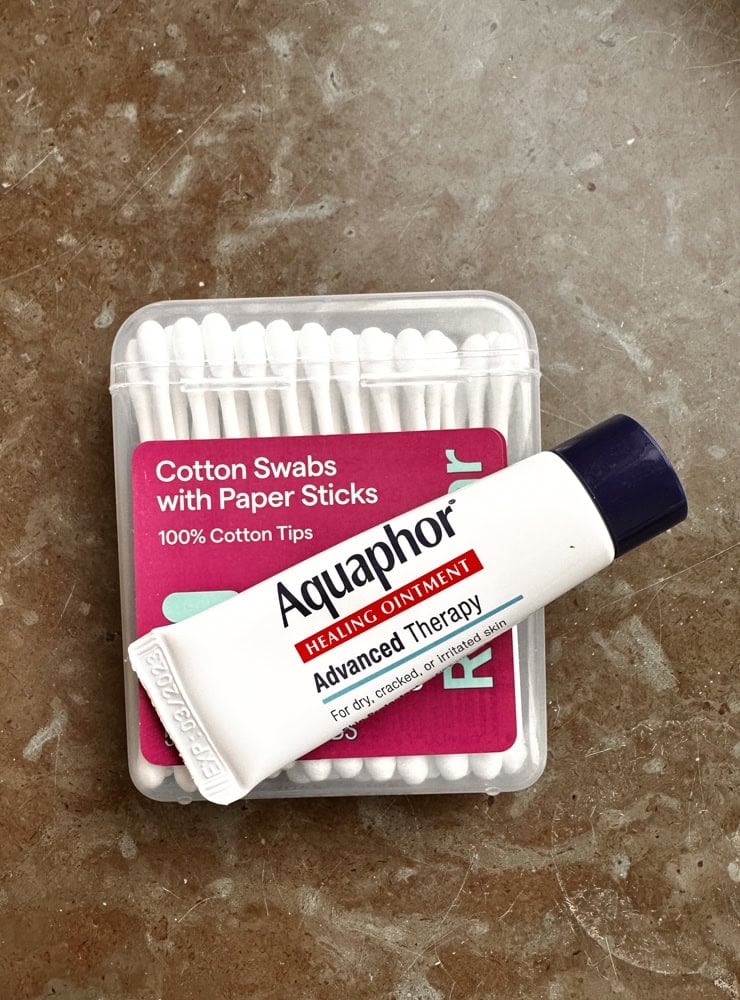
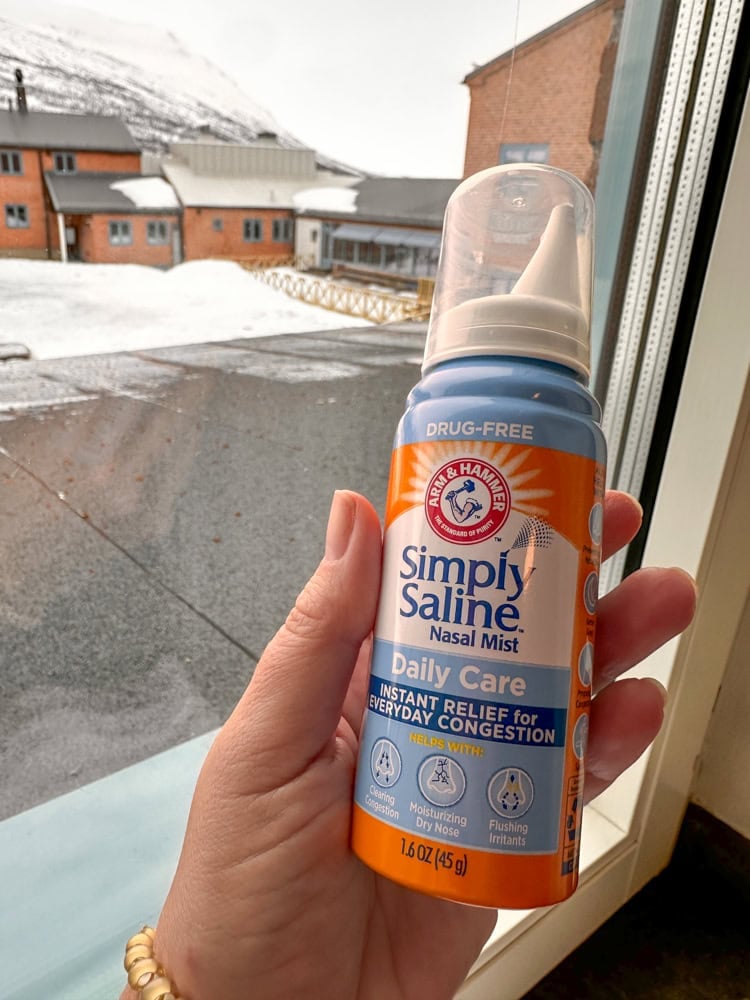
The extreme dry air in Arctic climates can wreak havoc on your skin and nasal passages, especially when you’re coming from a humid environment like Florida. Pack Aquaphor and Q-tips for a simple but effective trick: use the Q-tip to apply a thin layer of Aquaphor to the inside of your nostrils before heading out each day. This creates a protective barrier against the cold, dry air. Also bring saline nasal spray to keep your nasal passages moisturized. We experienced slight nosebleeds during our trip from the dramatic humidity change, and these items were lifesavers. Don’t forget extra lip balm with SPF and a rich moisturizer for your face and hands. The combination of cold temperatures and dry air can be surprisingly harsh on your skin.
A Note About Packing
The biggest adjustment for us travelers that aren’t used to extreme winter weather isn’t just the clothing, it’s how to pack it all. Any arctic winter packing list will seem overwhelming when you’re used to packing light with just a carry-on. It’s also understanding that for trips to the arctic, cold weather gear isn’t about fashion, it’s about function. That said, I still managed to feel put-together while staying warm. (And you can always accessorize with a cute colorful hat!)
For packing, my husband and I each brought a carry-on with one set of our most essential gear, and then packed the rest in a shared larger checked bag. That way, if our checked bag was lost or delayed, we each had a base layer, mid layer, and outer layer to get by and it wouldn’t ruin our trip. Turns out, I didn’t need the extra snow pants or a base layer for each day. But did appreciate having two sets of boots, one for extreme weather and one cozy pair for walking around.
I brought two pairs of jeans but only wore one pair occasionally. In Stockholm, I wore jeans with a base layer underneath and my smaller boots for city exploring. However, once we reached Kiruna and northern Sweden, I lived in my Sorel boots and rarely wore jeans. Most days, fleece leggings were my go-to. They were comfortable under all my layers and much warmer than jeans. I found mine on Amazon and they were a lifesaver. Also, I only ended up needing one set of snow pants, not two.
NOTE: When flying from a larger city like Stockholm to a smaller arctic airport like Kiruna, you will likely have to use stairs to board the plane. Keep that in mind with the size of your carry on and checked luggage.

Final Thoughts On Packing For The Arctic
Creating the perfect winter packing list for Arctic travel as a Floridian taught me that preparation is everything. While it seems overwhelming at first, the right gear makes all the difference between a miserable experience and an exhilarating adventure.
Remember, you don’t need to break the bank on equipment you’ll rarely use. Strategic shopping and borrowing from friends can help you prepare without the long-term investment.
What surprised me most was how quickly I adapted to the cold with the right layers. The human body is remarkably adaptable… even one that’s used to Florida humidity and 90-degree Christmases!
My winter trip to Sweden to see the Northern Lights was absolutely worth every minute spent researching and packing. The lights were spectacular, and thanks to proper preparation, I could focus on enjoying them rather than being distracted by the cold.
Have you made a dramatic climate shift for travel? What were your must-have items? Let me know in the comments below!
Stay warm, fellow sunshine dwellers!
Want A Taste Of Sweden? Try These Recipes!
Planning A Trip To Sweden? Check Out These Guides
Leave a Reply