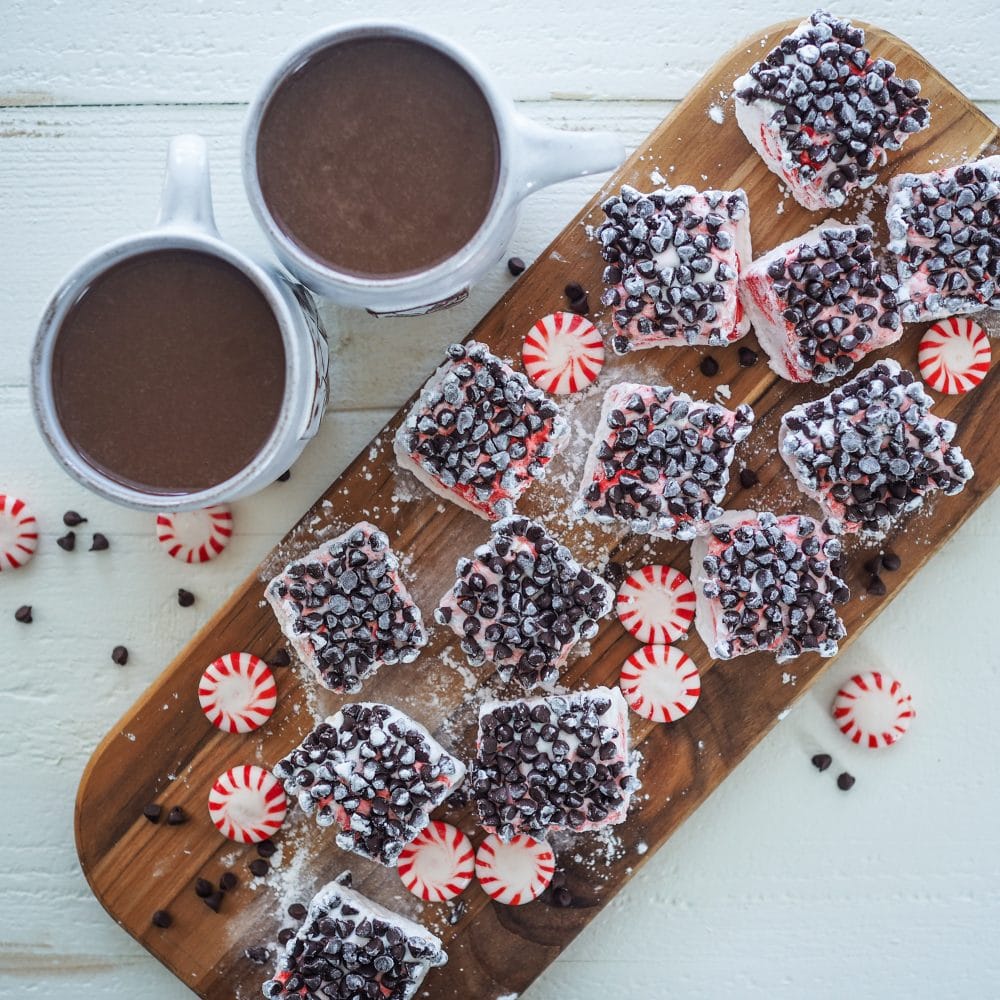
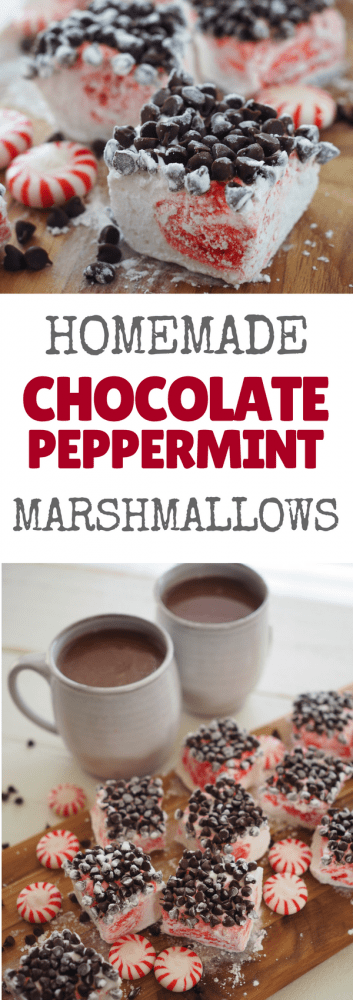
I’ve been experimenting quite a bit with my original marshmallow recipe and decided to try it out with my favorite winter coffee drink — Chocolate Peppermint Marshmallows! They are perfect for dunking into your favorite cuppa coffee or cocoa, or just to nibble on their own.
(You also might like these … Mocha Marshmallows)
These have been the most addictive homemade marshmallows I’ve made thus far — it has to be a combination of the flavor as well as the soft pillowy texture of the marshmallow along with the crunch of the mini chocolate chips. I. Can’t. Eat. Just. One.
Chocolate Peppermint Marshmallow Recipe Tips
A few tips before you get started. First, measure out your peppermint oil before pouring. Trust me on this one. I had to throw out a whole batch of perfectly good marshmallow because of a fast pour that ended up adding a bit too much peppermint directly into the bowl.
Too much peppermint will have your marshmallows tasting a little too much like toothpaste. You just need a little bit to give a subtle hint of flavor.
Step-By-Step Homemade Marshmallows
If you’ve never made homemade marshmallows before, and want to see photos of how the magic happens, I have my original plain Step-by-Step Homemade Marshmallow Recipe for you too. They’re pretty easy to make, and the only thing you really need to have that you might not already have stored in your kitchen is a candy thermometer so you can monitor the temperature of the sugar.
Red Peppermint Swirl Marshmallows
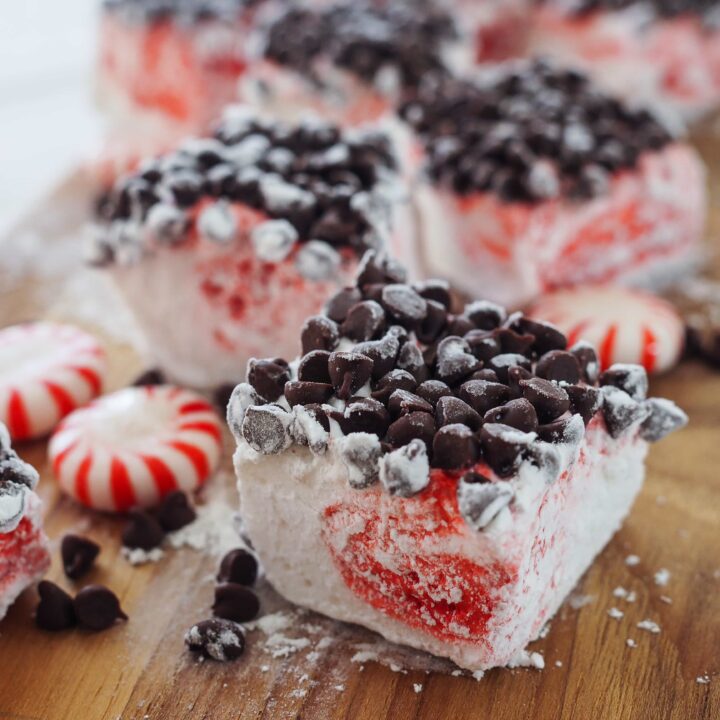
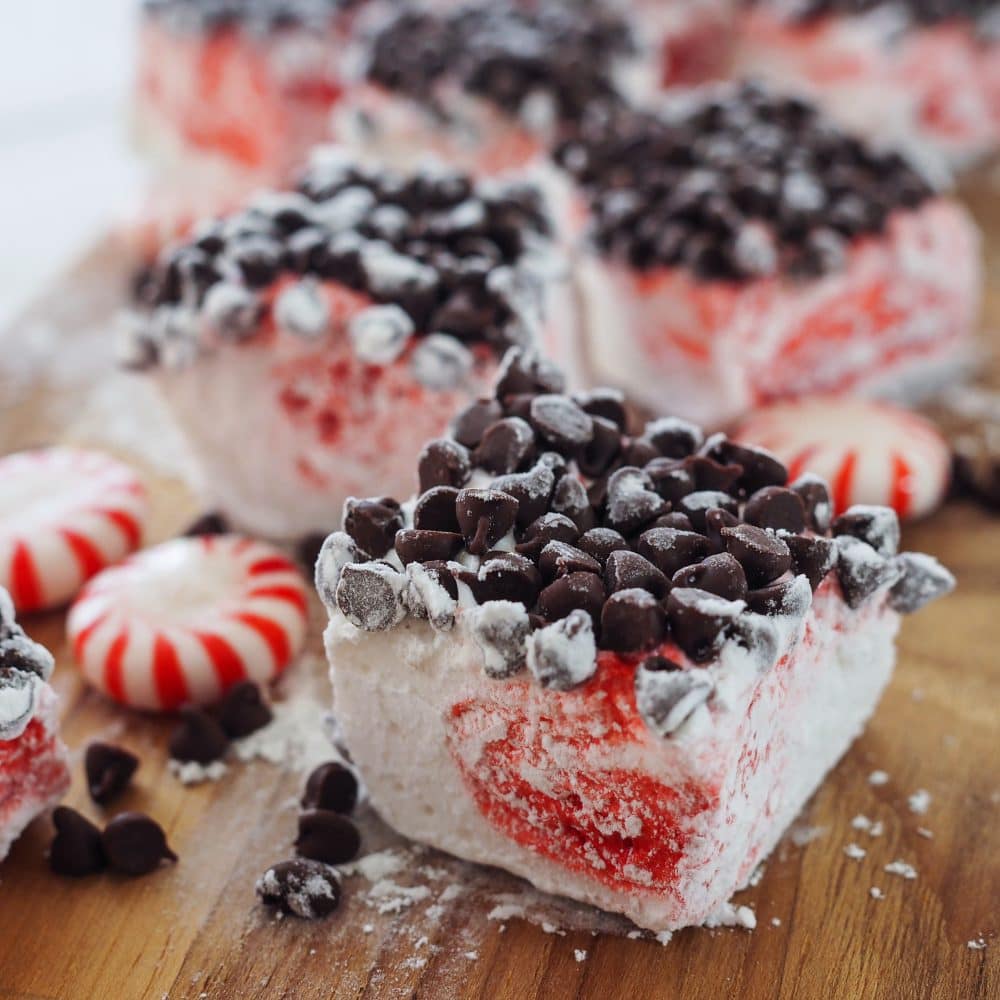
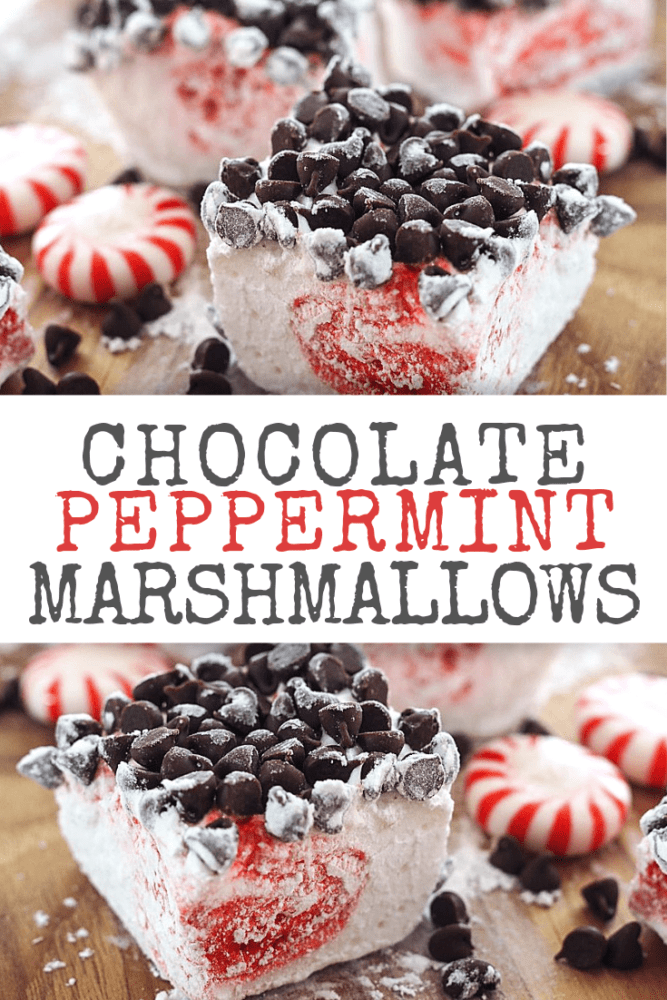
My last tip for making these peppermint marshmallows is for the red candy swirl. If you want to create the red swirls like you see in the photos here, just add a few drops of red food coloring directly onto the marshmallow after pouring it into a pan and then swirl it around with a toothpick until you get that peppermint look.
Chocolate Peppermint Marshmallows
Ingredients
- 3 packages unflavored gelatin
- 1 cup cold water (divided into two half cups)
- 1 1/2 cups granulated sugar
- 1/4 tsp salt
- 1 cup light corn syrup
- 1/2 tsp vanilla
- 1/2 tsp peppermint extract
- 1/4 cup confectioners' sugar
- 1/2 cup cornstarch
- 1/2 cup mini chocolate chips
- Red food coloring
- Nonstick Spray
Instructions
- Place the gelatin into a large bowl (or stand mixer) along with 1/2 cup of water.
- In a small saucepan, combine the remaining 1/2 cup water, granulated sugar, corn syrup, and salt. Place over low heat, cover and allow to cook for 2 to 4 minutes.
- Remove lid, clip a candy thermometer onto the side of the saucepan and continue to cook until the mixture reaches 240 degrees (this will take about 7 to 10 minutes). Once the mixture reaches this temperature, immediately remove from heat.
- Turn your stand mixer on low speed and slowly pour the sugar syrup down the side of the bowl into the gelatin. Once you have added all the syrup, increase the speed to high. Continue to whip until the mixture becomes thick and fluffy white (about 7 to 10 minutes). During the last minute of whipping, add the vanilla and peppermint extract.
- While the marshmallow is whipping, prepare the pan. Combine the confectioners sugar and corn starch in a small bowl. Cut out a piece of parchment that fits the bottom of your baking pan (I recommend a 9x9 inch pan for more square marshmallows). Lightly spray the baking pan with nonstick cooking spray, and add the parchment to the bottom. Using a sifter or sieve, lightly dust the entire pan with the sugar/cornstarch mixture making sure it is completely coated. You'll have a little left over, so cover the bowl and save this for cutting the marshmallows.
- Pour the marshmallow into prepared pan.
- (Optional) Place a few drops of red food coloring on top of the marshmallow approximately one inch apart. I added about 9 drops. Swirl the food coloring into the marshmallow using a toothpick.
- Sprinkle the mini chocolate chips on top, pressing lightly with your hand so that the chocolate chips stick into the marshmallow.
- Cover the chocolate peppermint marshmallow loosely with plastic wrap and refrigerate for at least four hours or overnight.
- When you're ready to cut the marshmallows, use a butter knife to loosen it up from the sides of the pan. Then, turn the marshmallow over onto a cutting board. Cut into one inch squares using a pizza wheel dusted with the confectioners sugar mixture. The marshmallows might be a bit sticky, so roll each individual marshmallow in the bowl of cornstarch/confectioners sugar. Enjoy! Homemade marshmallows can be enjoyed for up to 3 weeks when stored in an airtight container or bag.

Leave a Reply